this is a teaching thread on the simplicity of the polyworks. in it, you will learn everything from:
-making polygons
-coloring
-shadowing
-waypointing
-basics of a good map
this guide is written in an easy to comprehend, easy to follow step by step format, because i was in you place not so long ago, and now i am a pretty good map maker
NOTE: this is only for polyworks. as mapmaker+ does not work on my computer, i have no idea how to work it, although i can tell you the basics are pretty much the same.
GETTING POLYWORKS: YOUR FIRST STEP!you might be wondering, "hey Ekoz, where can i get polyorks?"
well, a good mirror is right here, where i got it:
http://www.gamedev.net/community/forums/topic.asp?topic_id=365873download it, install it, and you've started the wonderful journey called soldat polyworks!
THE BASICS: EVERYTHING YOU NEED TO KNOW TO GET AT LEAST A WORKING MAP!when you open polyworks for the first time, you will be confused. but don't worry, the outlay will become like a brother quickly. do not close any windows for now, and if you do, you can open the templates in the windows tab.
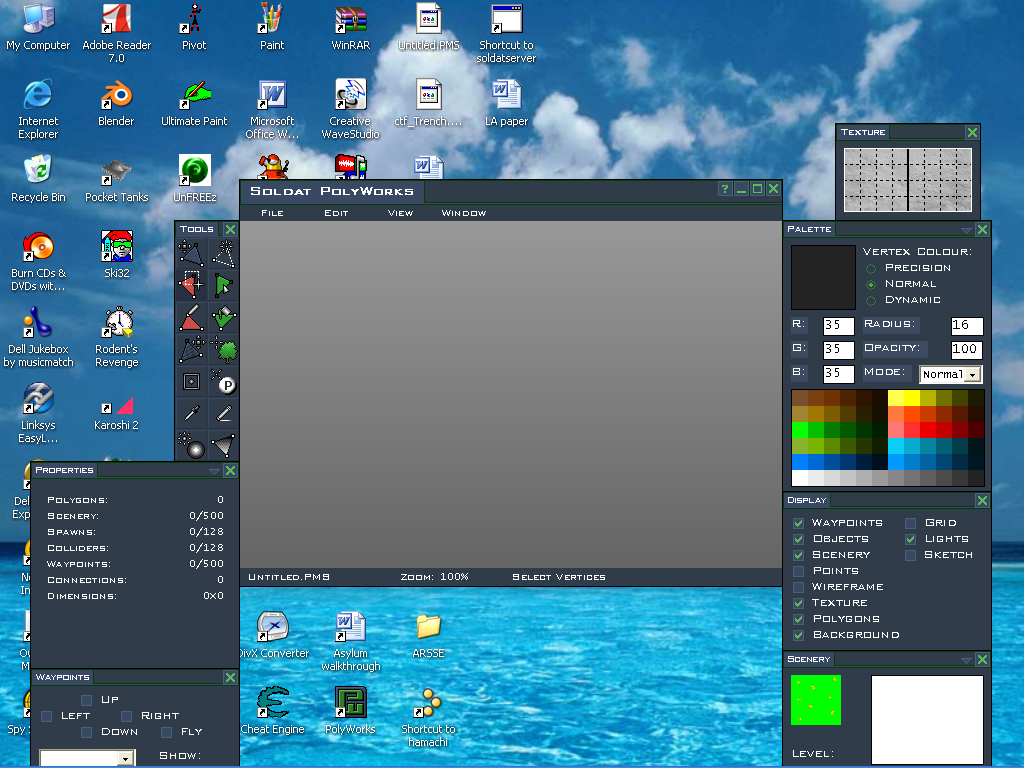
for now, we will focus on...
Making Shapes!you will notice on the left of the window, there is a tall, skinny window. that is your toolbox, and the one in the topmost right corner is the one that you will use the most-the Draw Polygons tool. i suggest turning on the grid, which can be acheived by using the tools tab in the main window, or by checking on the grid in the control window, which is the second from lowest window on the right:
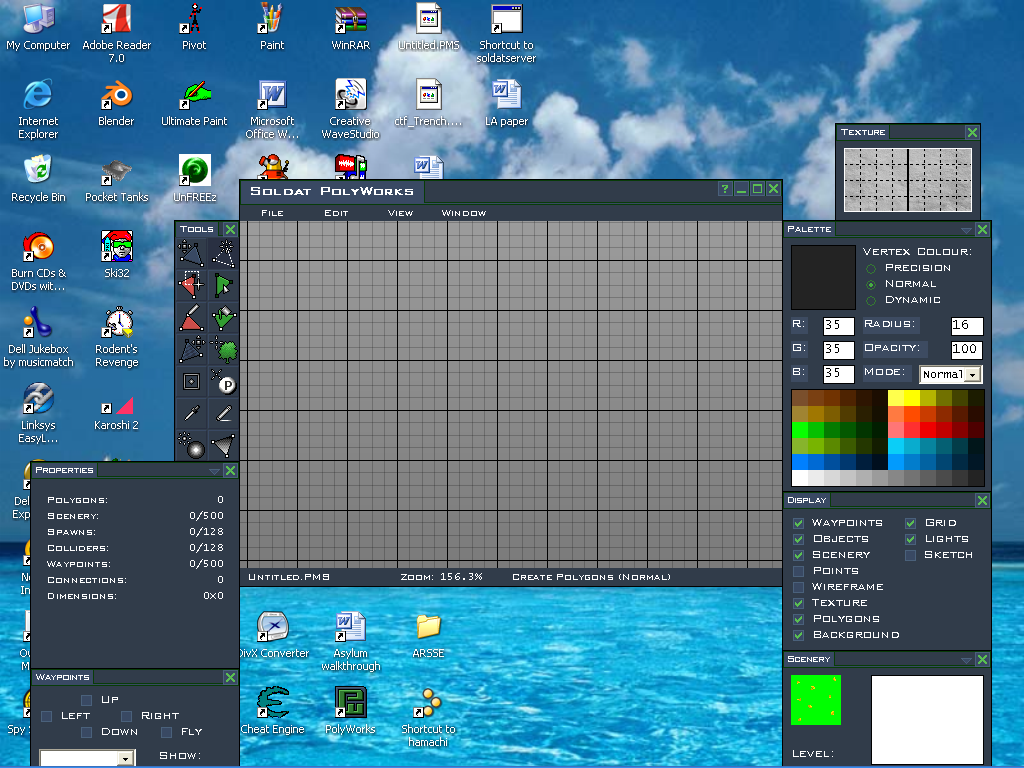
now, back to the toolbox: select the make polygon tab and click any point on the graph (it will auto align ONLY IN GRAPH to the nearest plot point). then move your mouse around. you will see a line move with your mouse, pivoting around your first click. now click nywhere agin. you will notice, that you have now set 2 of the 3 vertices. click anywhere for the last one, and congradulations, you have created your first poly!
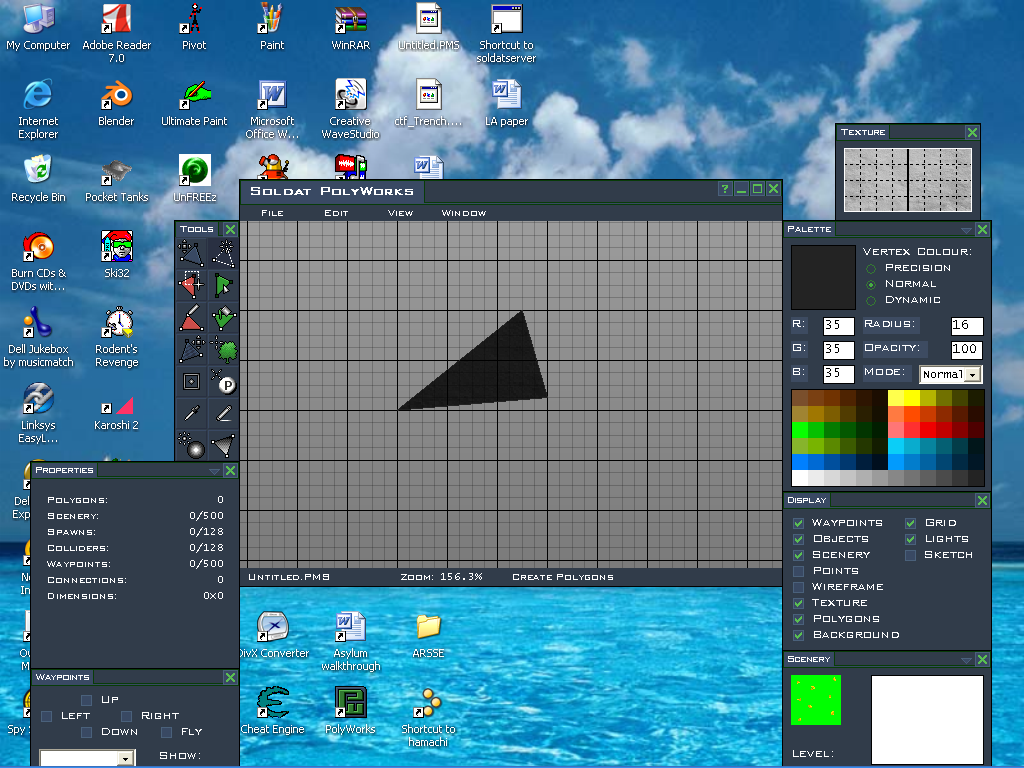
polys in polyworks are always traingles, and you can never change it. but you can overlap polys, ect. to make them look like boxes or even circles.
no onto...
Changing Colors!so, you wanna do multi color polys, huh? well, here is the right section. first, make sure your pallete window is open (its the one with all the colors) and select one (other than the color you already have). good! now, look back at the toolbox. here will be your second most used tool: the Select Vertices tool. this allows you to select one vertice of a polygon and edit it to your desire, but ONLY THAT VERTICE! you can drag it though, changing the shape of the poly, and you can color it, too.
to color, pick the tool diagonally across from the draw poly tool (the one next to draw poly is move anyhting-polys, scenery, spawns, (not waypoints), but they gotta be fully selected, except for polys, which you can use that tool to move single vertices.) you will notice your mouse becomes a small cross hair. drag the cross hair to make a box over any vertice. (REMEBER THIS- to add to your selection without having to redo everything, just hold shift and drag- the previous vertice will still be selected!) now, pick the tool below the select vertice tool
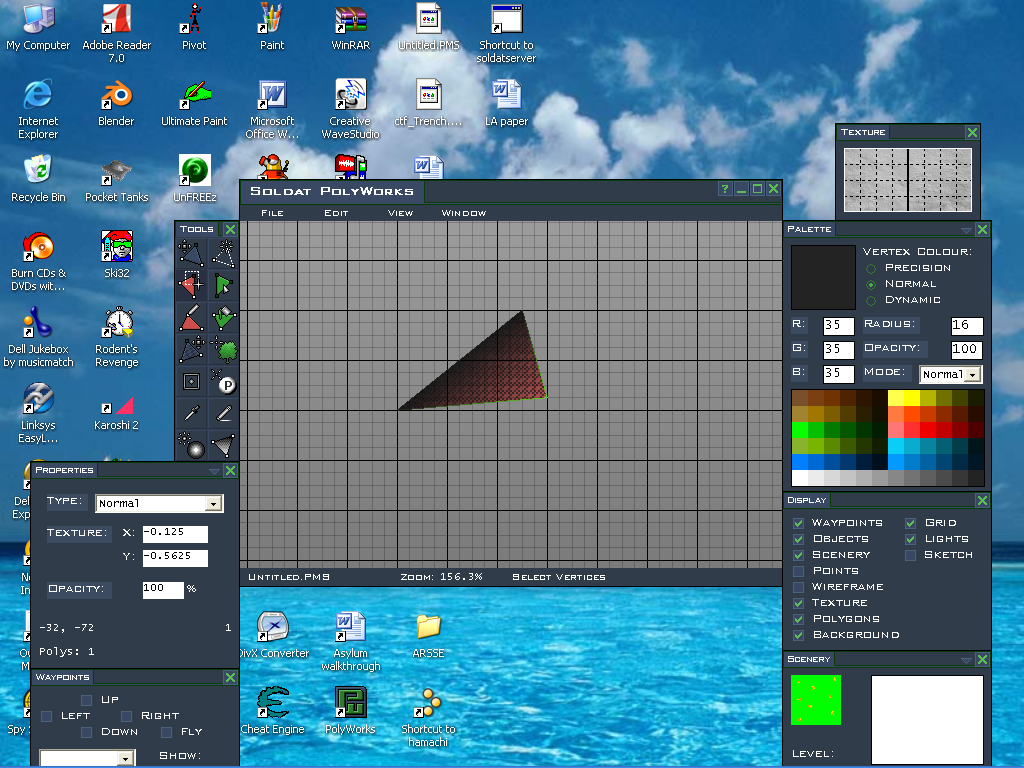
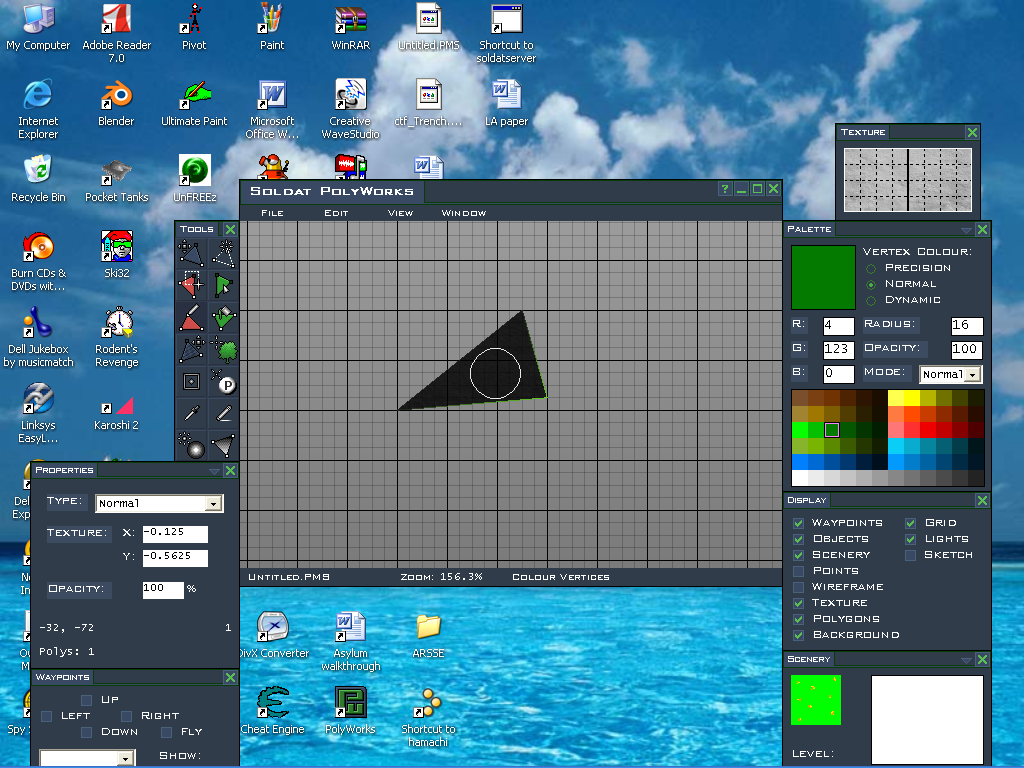

this is the Color Vertice tool. when selected, your mouse becoms this small circle thing. what does it mean? it means whenever you click, any vertices that are selected and IN THE AREA OF THE CIRCLE will be colored the color you selected in the pallatte. any vertices selected but not in the circle will not be colored. any verices in the area of the cirlce but not selected will similairly not be colored.
as you can see in the picture, polyworks does a fine job of blending the two colors together to make a smooth look.
now, look to the right of the select vertice tool. you will see that this is quite self explainitory-it's the Select Poly tool. now, this can only select polys and scenery. SPAWNS AND WAYPOINTS CAN ONLY BE SELECTED USING SELECT VERTICE!
using this automatically selects all vertices in a poly (or a piece of scenery), affectively selecting the entire poly. using this can make an easier task out of moving whole sections, because you dont have to fumbe around trying to select all vertices, when you can just click on a poly to select it. (the shift+select works for this too-use it if you need multiple polys/sceneries)
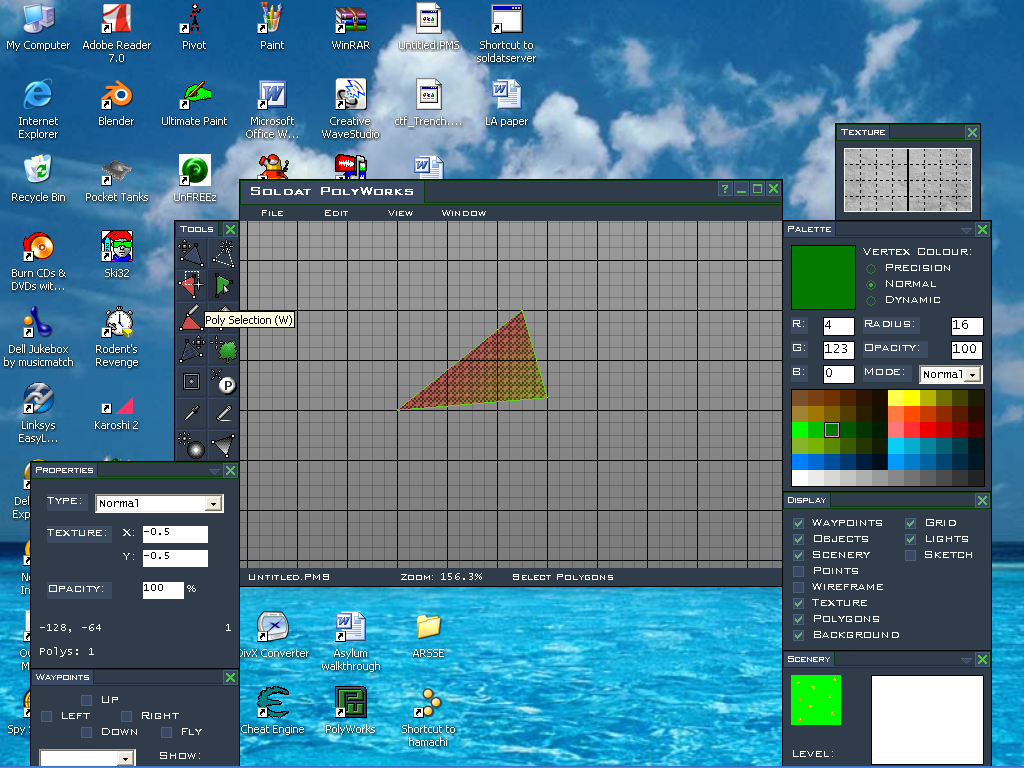
now that you have the entire thing selected, you can now use the tool below select poly- Color Poly. this is as simple as it seems-simply choose a color, and click on said selected polys (WORD- EVERYthing selected will be colored if you use this option, there is no "radius" affect. yes, even scenery. yes, scenery can be colored. adding color to scenery can sometimes be good or just plain goofy. want healthy grass? select a brighter green, instead of gray (which keeps the default color of scenery) but who wants bright yellow grass? exactly. use sence to coloring scenery, people)
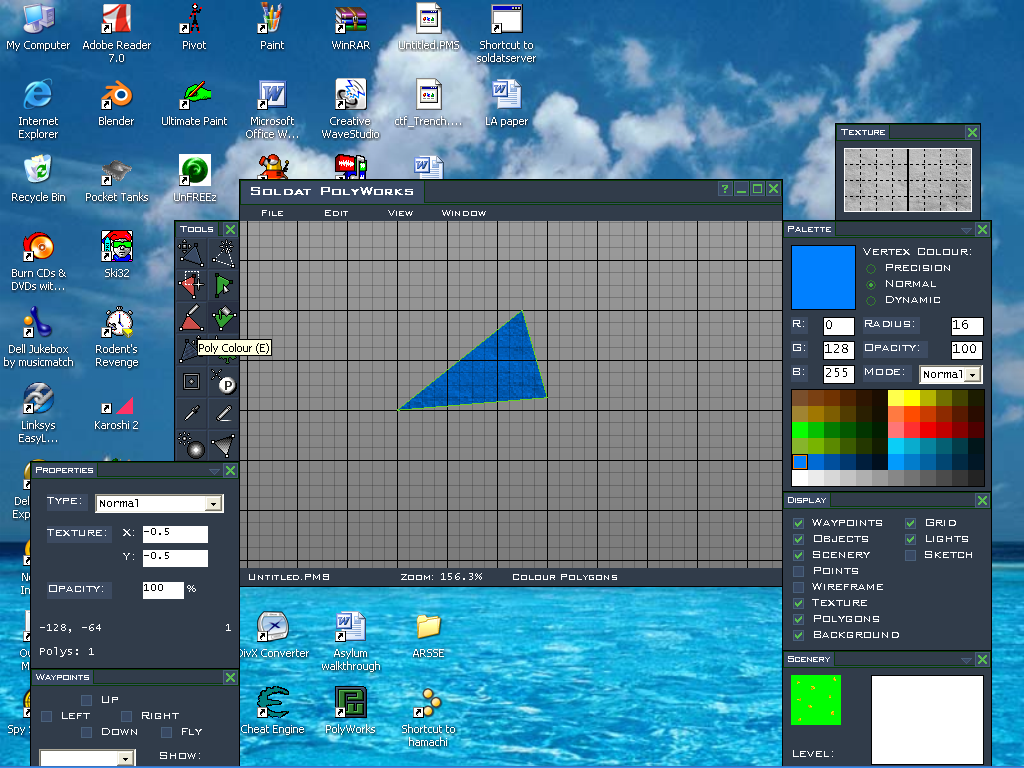
and that is it for coloring. now, just a little break as you comprehend all that for a small but crucial part of your map. iiiiiittttt'ssssss....
SETTINGS!!!yes, it's settings. here is a pick of the small but crucial part of the program-
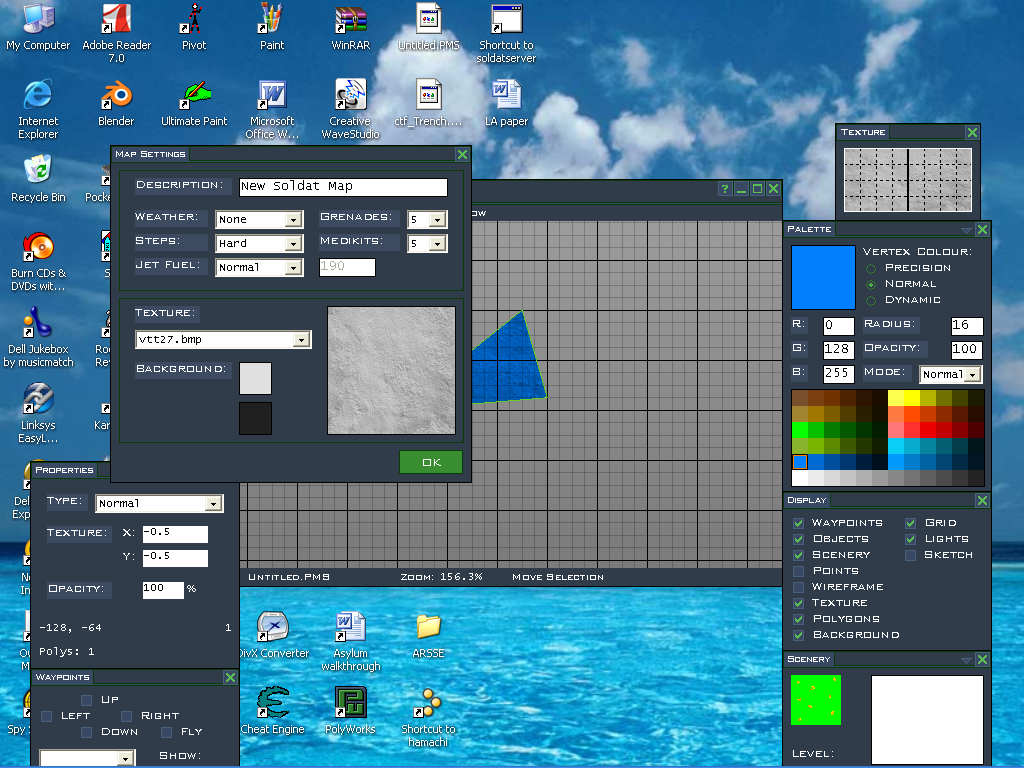
as you can see, this controls almost everything about your map. from the text that appears when you start it up, to the texture of your polys, to the backround color, to how much fuel you have, it's all here. all this stuff is reall y self explainitory, so i don't need to say much except that to acsess map settings, you can go to edit --> map settings, or just hit ctrl+m
SCENERY, SCENERY, AND MORE SCENERY!!!as most of you know, scenery really makes the map. i mean, who just wants a bunch of blank random shapes in the middle of nowhwere?
to add scenery, just click the tool that looks like a green tree. (the tool next to it is the Move Texture tool, something that is not nessesary, it's just used to make the the texture look non repeating. you do not have to use it, but it you really don't want the texture to look like wallpaper that resets itself every 5 inches, you'll probably want to use it)
now, when you click it, you'll get the first item that is logged in the "Master list" appear, following your cursor. mine happens to be $$$Gold.
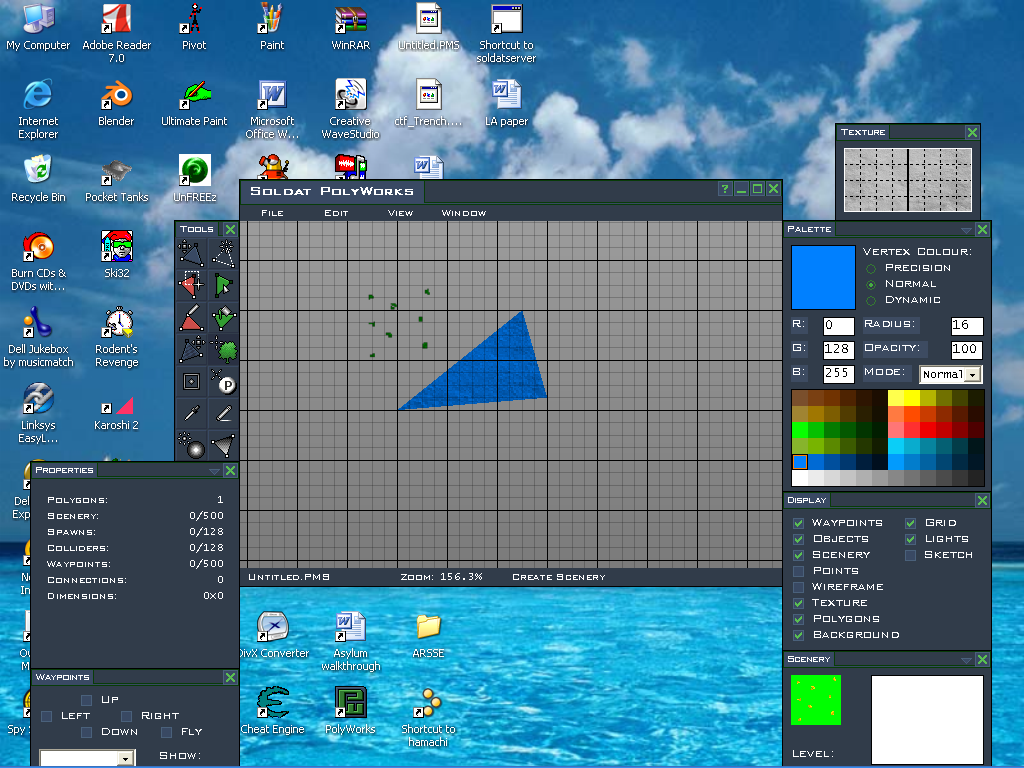
if you want to change this, it's simple. just right click anywhere (in the window) and a list will pop up with three folders: In Use, Master List, and Default.
master list is always the default one it opens, in use is just a list of sceneries you use, and default is a short list of scenery that is default to the game (aka only the scenery that matters when you first download the game) i recommend the default because that really all the scenery you need. besides, other people claim you stole their scenery and it gets into this big mess.
anyway, to close the list, simply click anywhere outside the list (i recommend right clicking, because if you left click, it will still place down the scenery you selected where you click, and you'll mabey have to delete it, blah blah ect. ect.)
and the piece of scenery you selected will now be following your cursor, and to place it simply left click where you want it.
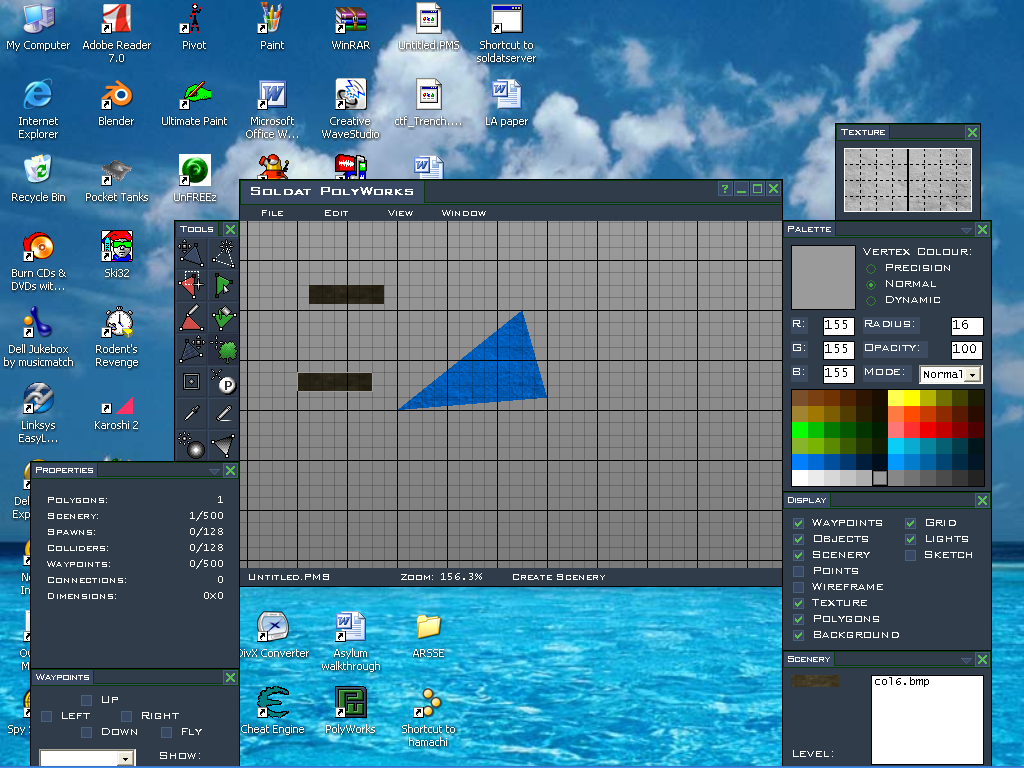
to place another scenery you have already set in the map without having to use the "in use" list every time, you can just use scenery tab, right beneath the diplay window. it has a list of all the sceneries that were ever placed in the map. just use the scenery tool and click the scenery you want from that list, presto! you automatically got it.
now you're saying "Ekoz, how do i make scenery bigger, or rotate it, or make it translucent?
well this is part of...
ADVANCED BASICS!!!so, you wanna make the scenery longer, partly opaque, or rotated? well, your gonna wanna be accustomed to the properties window, right underneath the toolbox, and your gonna want to know this: sceneries trying to be selected using there selct vertice tool must have their little green dot in the selection, that is the only way they are selected using that tool. select any other corner, and nothing happens. here are a bit of of properties to change: (NOTE- all changes to the properties are saved by hitting enter. clicking just resets it)
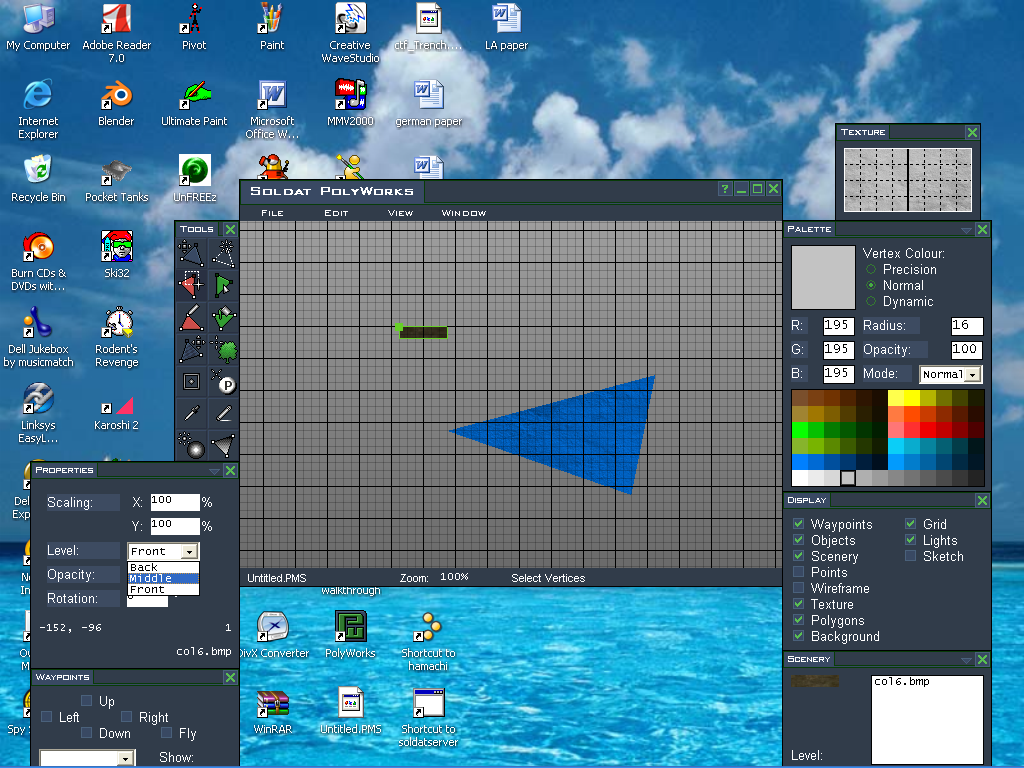
this is the placement propety, only available for scenery. you want scenery in the backround, something you cant do with polys? set it to back (default) or you want it up front, overlapping polys as well? or do want it behind polys, but in front of your charecters? put it in middle then. (another word: in the dit tab, there is a side tab called arrangement. any poly that is selected when you use anyoption in this side tab is sent foreward or backward in arrangement of the type of placment it is. you want to put this middle scenery behind all the other middle sceneries? select send to back after selecting the scenery)

shape is self evident in itself. just edit the percentage of the side length to make it longer or shorter.
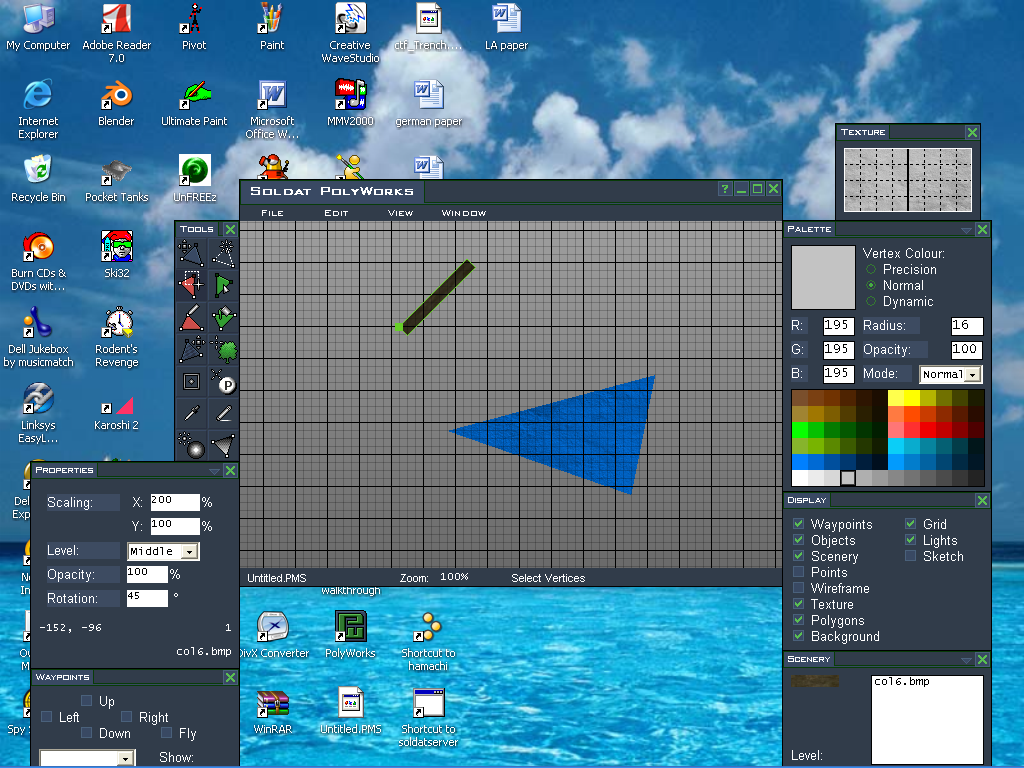
so is rotation. simply put in the rotation degrees you want. a note though- instead of having touse it all the way through 360, you can use negative numbers to simulate going backwards. aka: -10 = 350.
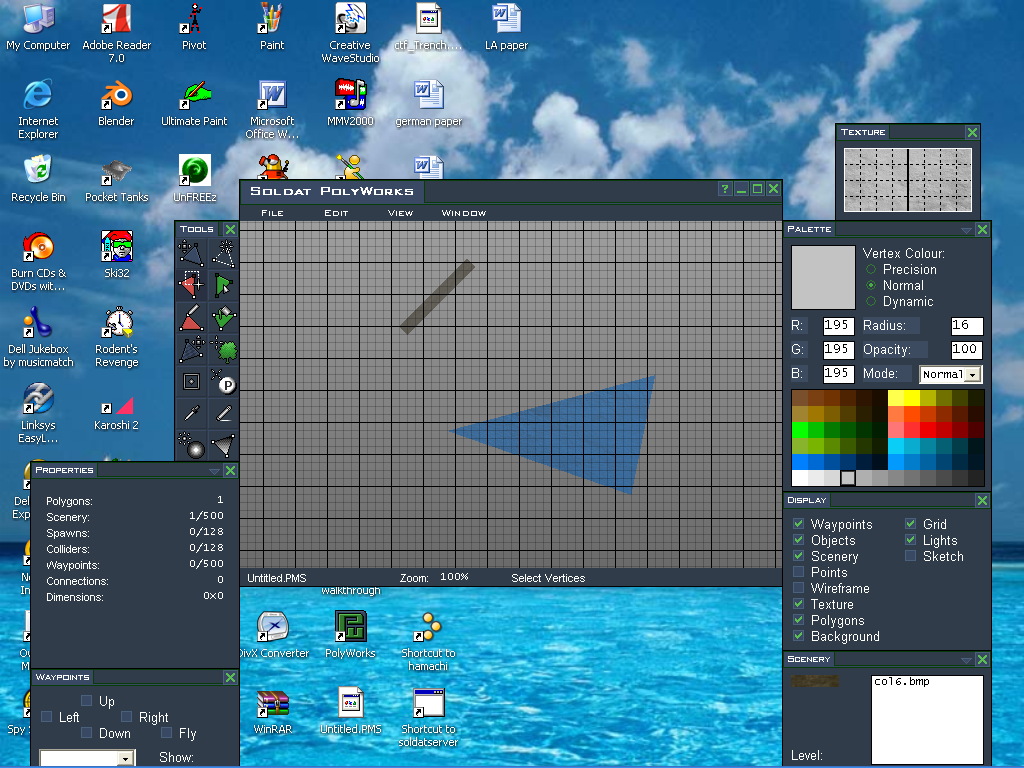
this is the only property shared by both polys and sceneries: Transparency- setting it is as simple as sizing or rotating. 100 is fully opaque, 0 is invisible. word though-to set transparency for polys, they MUST be fully selected.
now, this is anadvanced property for polys- you want to make a trap. a DEVIOUS trap. anyone who lands on a brick that looks like a stepping stone automatically dies. or you want to make a volcano themed map, with lava effects? you can set them here.
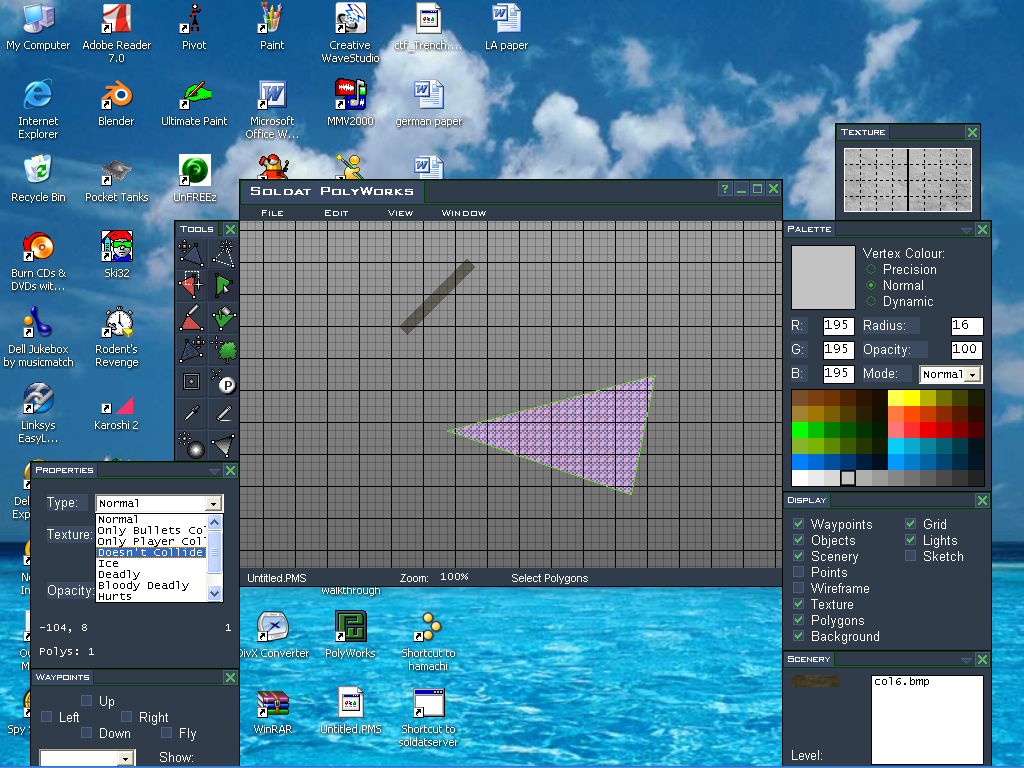
selecting a vertice will do, because when you set the property, it automatically sets it to the entire poly. to set it to a pre-existing poly, simply select it and change it in the property tab you can make a variaty of different properties, from icy slides, to polys which don't collide with anything, to polys that instantly kill, to polys that heal over time near it.
another way to do this is right click whenever you are creating polys a tab with all the same properties will pop up. choose the property you want, and draw-all the polys you draw from then on will have that property. (NOTE- if you do not change this back when you are done creating the special polys for whatever you need them for, you will continue making them. sooner or later, you'll notice that almost your entire map is DC(don't collide) always remember to change back using the same right click tactic.)
This brings us to...
FINISHING TOUCHES!!!Really simple, this will cover spawns, how to change, and how to place.
spawns are simply places where certain things, such as players, medkits, nadekits, ect, spawn. to make them spawn, you got to tell them where to spawn.
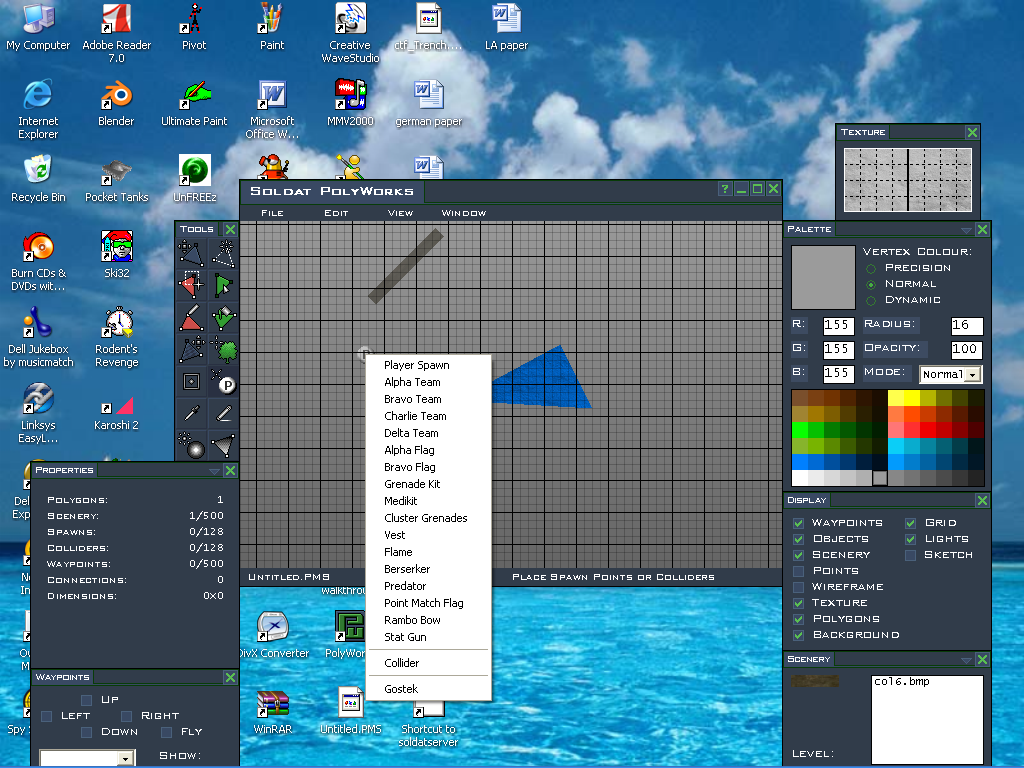
See the list? you can bring that up by right clicking when you have selected the spawn tool, underneath the Scenery tool. simply click any one, and then place it down. it is very self explainitory.
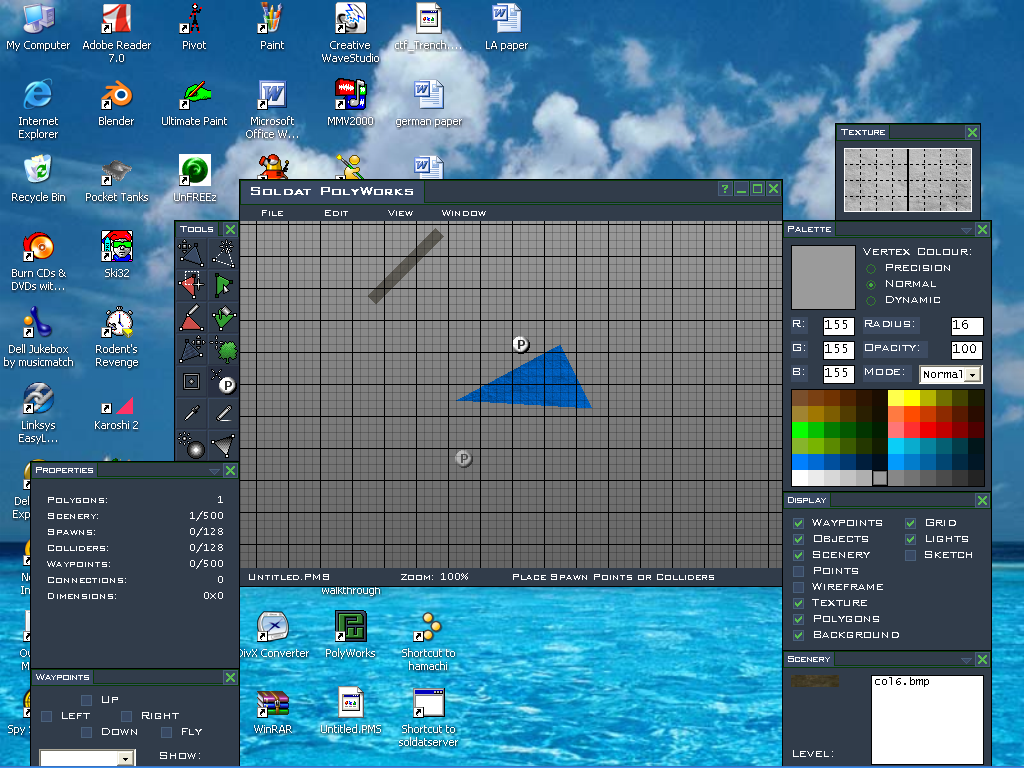
Now, onto the...
THE ADVANCED STRUCTURE OF POLYWORKS!!!This will covor Waypointing, a tool i'm not completely good with.
the waypoint tool is crucial, however to making your map a sucsess. to select, simply click the Box-lloking tool next to the Spawn tool.
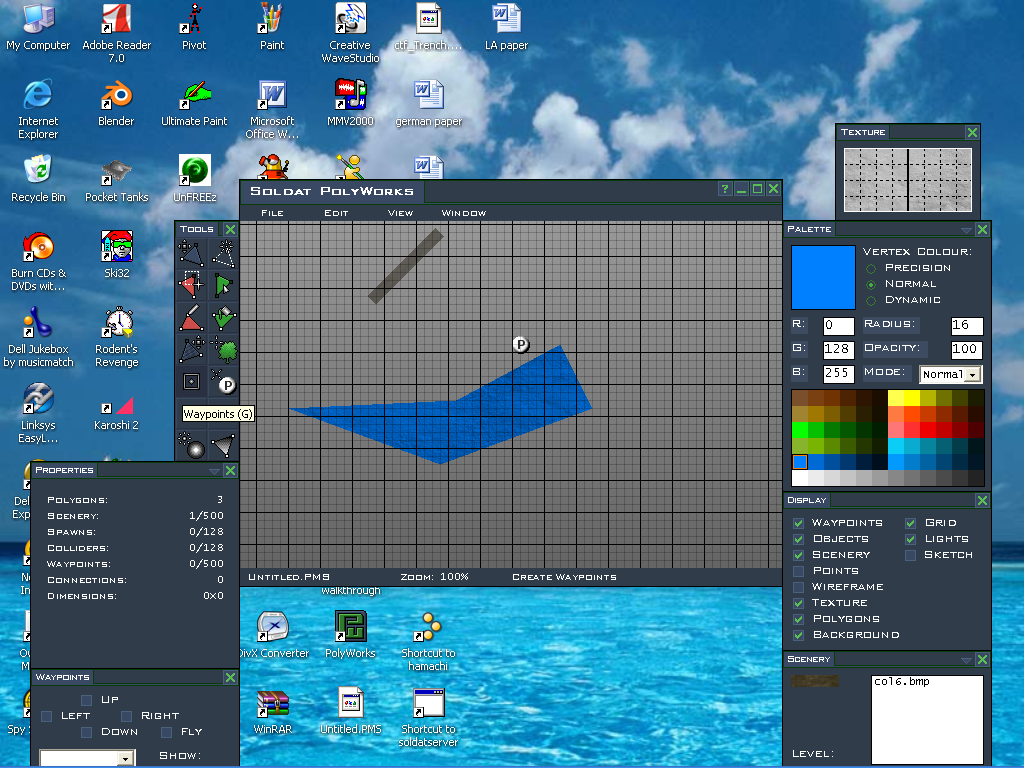
notice at the very bottom left, there is a waypointing window. that is your freind. remember him.
first, onto the basics of waypointing. waypointing is basically a way of telling your bots where to go in a map. without them, they will just sit where they spawn untill an enemy comes along, or an ally with the flag comes. these little boxes tell where the bots to go, whether left or right, up or jet, stop and camp, or just keep plowing through. a waypoint path MUST BE STARTED AT A SPAWNPOINT. once a path has started, the little bots will keep going in the direction the last waypoint in the path told them to go, unless the meet up with a different direction waypoint.
an easy way to tell waypoints in which direction to point these bots is to right-click when you are actively using the waypoint tool. this opens a small tab with the five selections. up, down(crouch, basically), left, right, jet, and something you won't nessesarily need. some directions can be mixed, like right up, left up, right jet, left jet, ect. while others Polyworks just wont let you do (left right).
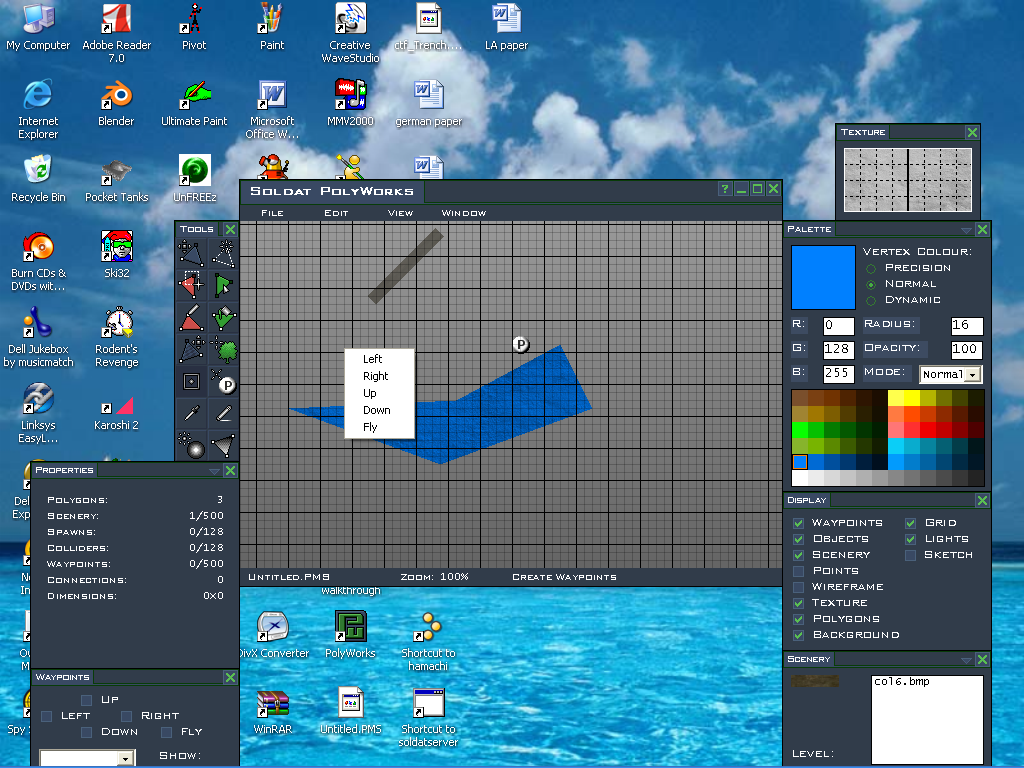
after selecting, you can place these waypoints down (NOTE: waypoints created after direction selection will keep the direction selected unless you start choosing another direction. make sure not to forget. BUT, in the waypoints window, you can change singular selected waypoints directions. but it's tedious and boring if you make a mistake, so try not to.)
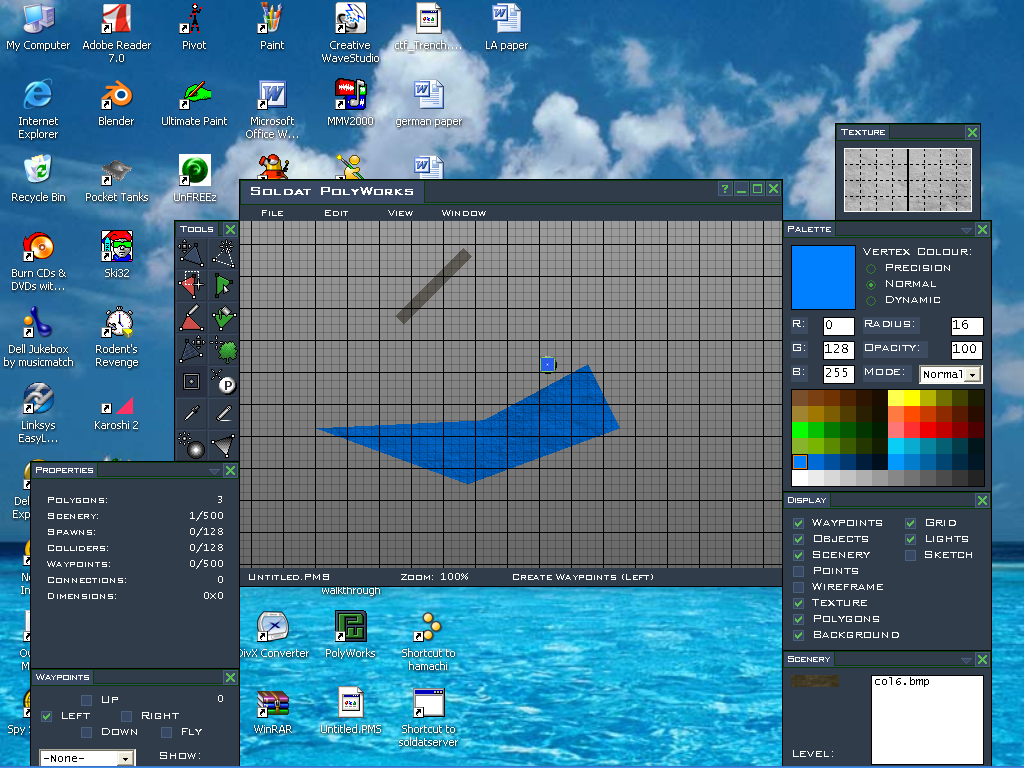
now, you want your bot to stop for a sec, or mabey 10? simple. in the waypoint box, after creating (or selecting. but remember: waypoints can only be selected by the select vertice tool) see the tab at the bottom?
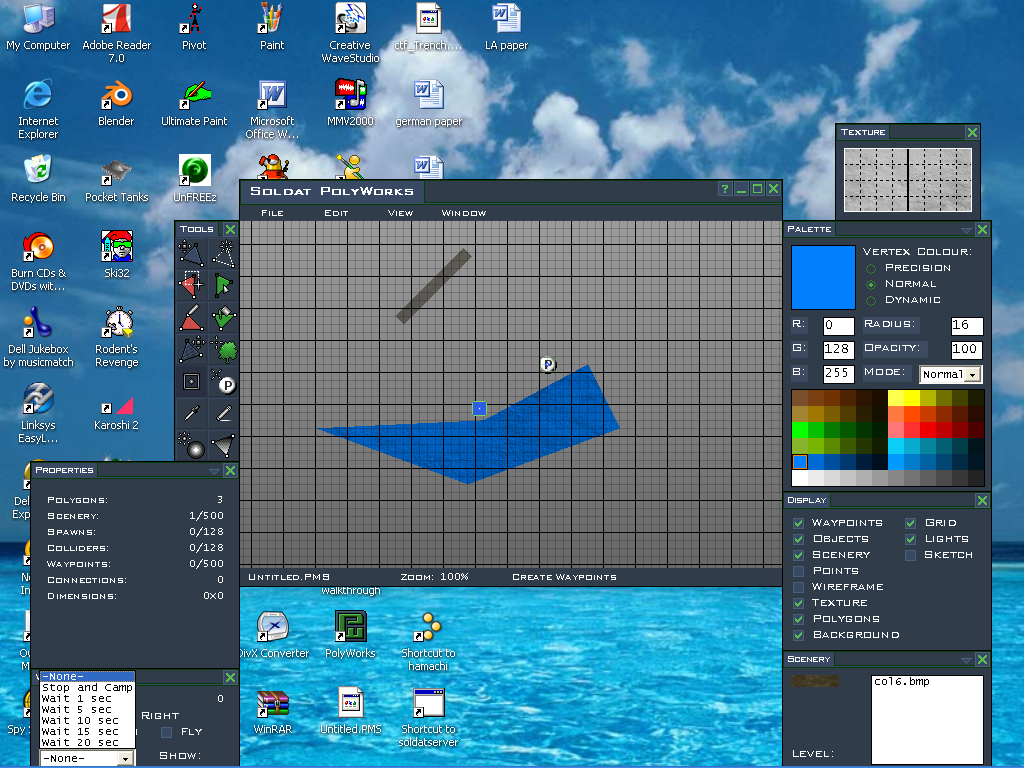
that tells the waypoint what to do when reached. the bot will do that action first, then resume the direction the waypoint says (unless the action is stop and camp)
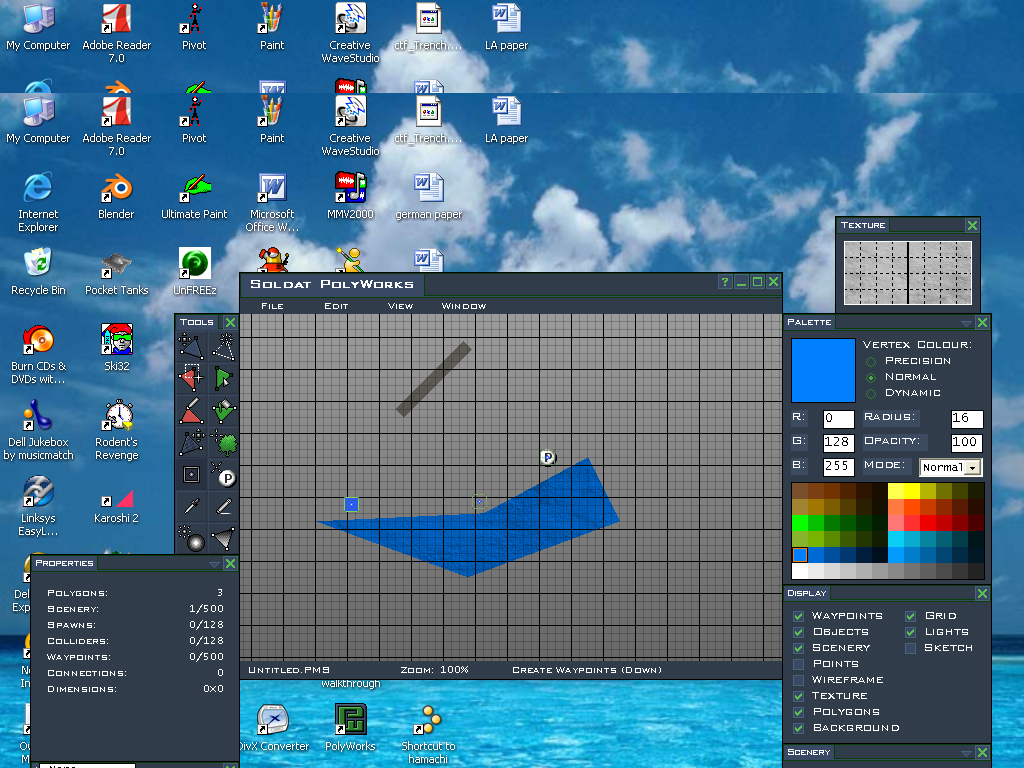
as you may or may not see (the last 4 images got cut off at the bottom) this last waypoint was labeled stop and camp. so any bot would stop before going off the ledge.
now, onto...
Making Paths!so, you wanna make paths? good. you'll need it. well, mabey not in deathmatch, but...
as you know, you don't want a bot from the blue team to run alongside the red team. so what do you do? you make paths, or a singular path of waypoints leading from spawnpoint to destination, then back.
to start off a path, you need a spawn WYPT (waypoint) and a nearby waypoint. simply select the waypoint tool and hold down shift. your cursor will change, and now, you can select waypoints by just clicking them. click the spawn WYPT, and move your mouse. you will notice a line following your cursor, pivoting on the selected WYPT. you have now started a path. follow by (still holding down shift) clicking on the next path WYPT. you have just started a path. continue this till you get a good path and remember: good waypointing sometimes takes hours. so patince is key. if you cant wait, thats too bad.
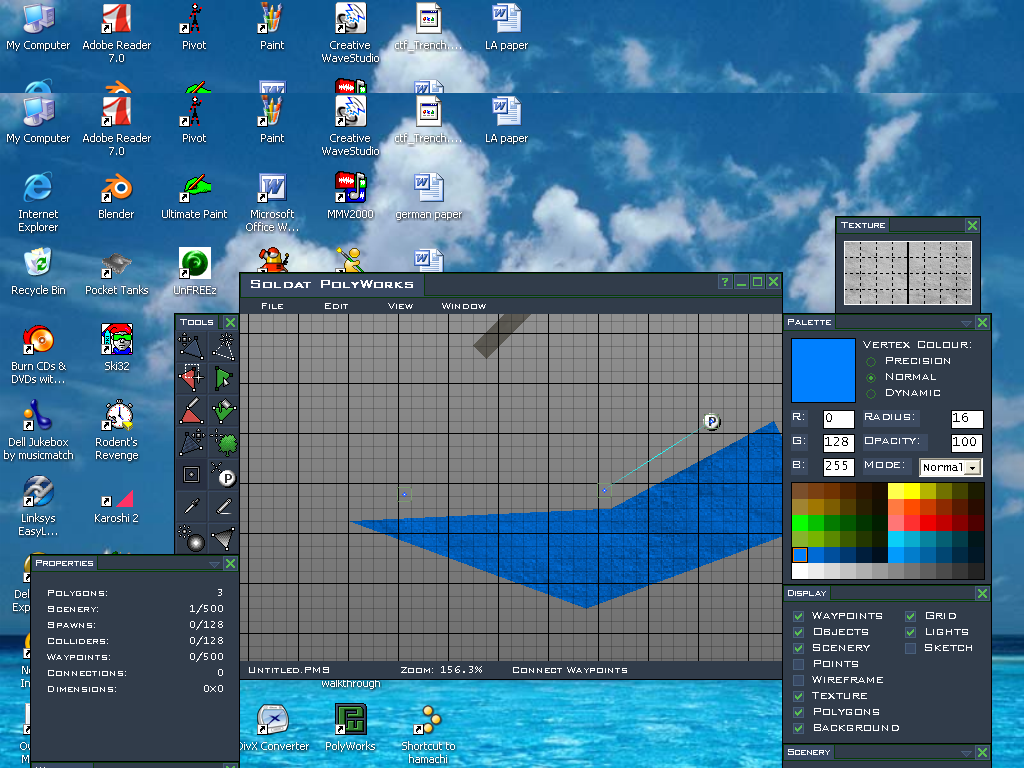

now, to start off a path quickly, you can just let go of shift and (making sure to set the correct direction first) just click where you want it. the path will auto-connect from then on, (unless you click empty space when holding down shift, at which point it will stop pathing.) and you will be on your way.
Congradulations, you now know everything you need to knwo to make an advanced map! keep this knowledge with you, and you'll be making star pieces in no time!!!